Making your own Threaded Inserts |
On some of my photos posted to the World of Woodturners site, I mentioned that I used a threaded insert for small boxes that are made of a wood unsuitable for threading. There are only a few woods that are ideally suited for threading, and most of them are hard to find, so what I have chosen to do is make male and female matching pairs of threaded inserts that I can glue into a box to give it threads that will last.
I like to use boxwood for this, as it is a perfect wood for threading. In this case, Windsor Plywood was selling this as boxwood, but I am almost certain it is not the real thing. It did not act like true boxwood and was difficult to cut a clean thread.
Here are a series of photos with some text to show the process I use to make these.
Basically, it is simply turning a cylinder with threads on the inside bore, and then turning a male counterpart cylinder with threads on the outside to match. The final step is parting them off in suitable sizes, threading them together in pairs and keeping them in a box or jar for future use.
As usual, I love hearing from you, so feel free to let me know you were here.
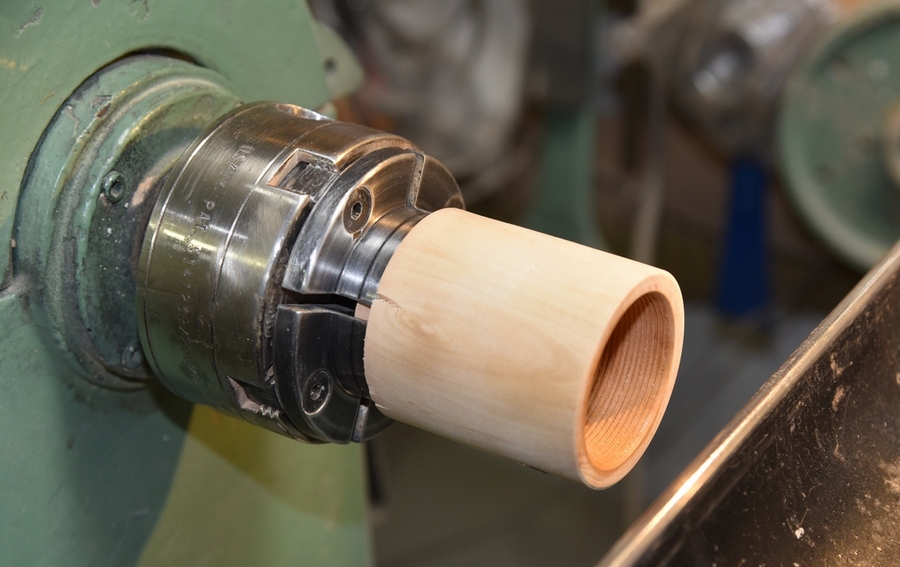 |
This first photo shows the bored cylinder (female) with the threads on the inside.
Two things to consider in doing this. First off, you can just drill the hole with a good quality Forstner bit and that will ensure that you have absolutely parallel and straight sides on the bore. But, the drill cannot wander or wobble in the slightest, as threads have to be cut on a dead true surface. I use a drill to hog out the center, but use a turning tool to true up the sides and make sure they are running true. And I lay a straight edge, like a straight pencil, on the inside bore and make sure that pencil is aligned with the bed of the lathe. That helps ensure that the sides are parallel and straight.
The other thing is to avoid trying to thread the entire inside at once. Simply, you cannot see the threader as it disappears into the cylinder. Therefore, I have learned to just thread in far enough to complete a bit more than one insert, part it off, then pick up the thread and repeat the process until you reach the end.
|
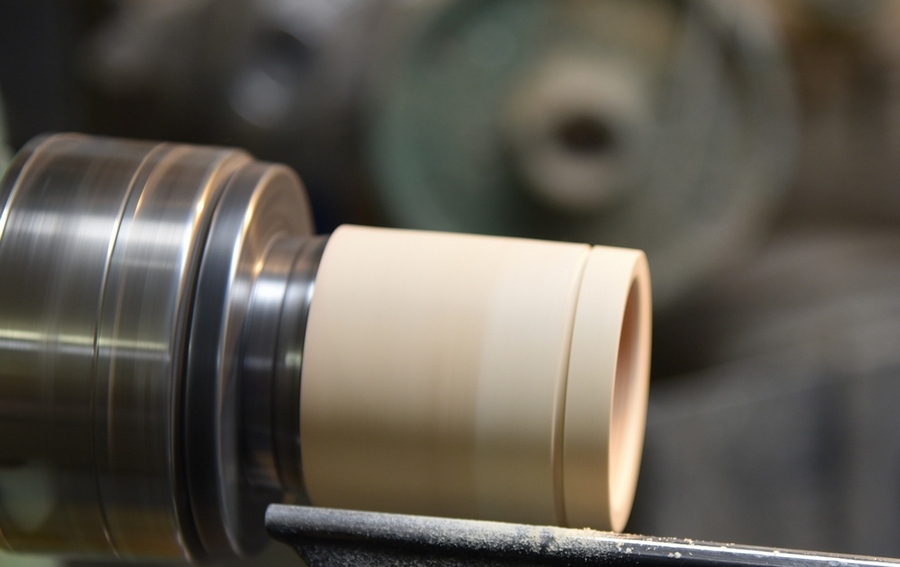 |
This shows the first female collar insert being parted off after the threads are made.
It is important to do the female collars first, simply because you will be using them to match them up with the male sections, one at a time, as they are made later. No matter how skilled you are, you will seldom be able to match each set perfectly if you try to do the male part all at once. Leave each male section slightly oversize, fit a female collar, and then part it off.
|
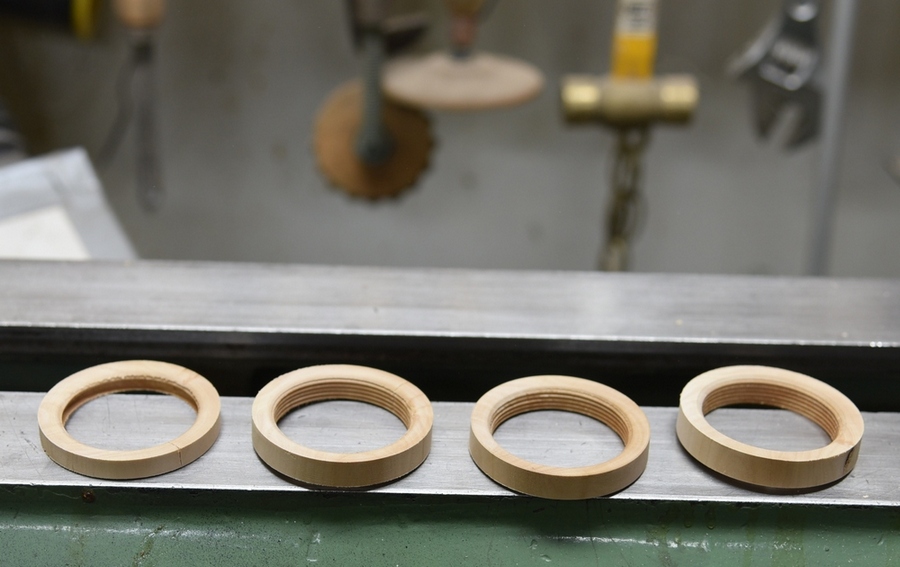 |
Here are four female collars that have been parted off. After parting off a collar, I true up the front surface and give the thread a slight chamfer, then pick up the thread again to cut the threads on the next one.
The back side of the female collar is what is glued into the mortise of your future box top, so that has to be true and flat. For that reason, you need to ensure that your thin parting tool is totally sharp and cuts cleanly.
|
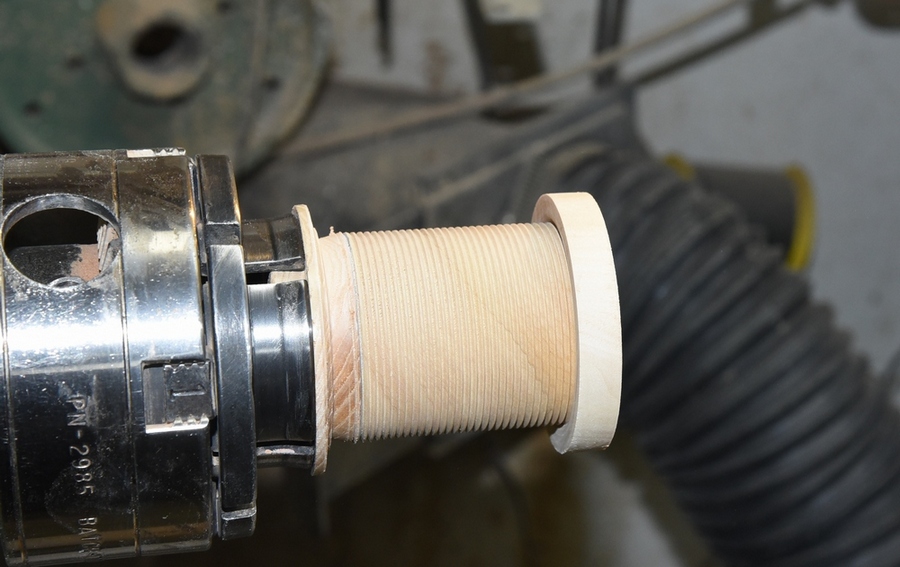 |
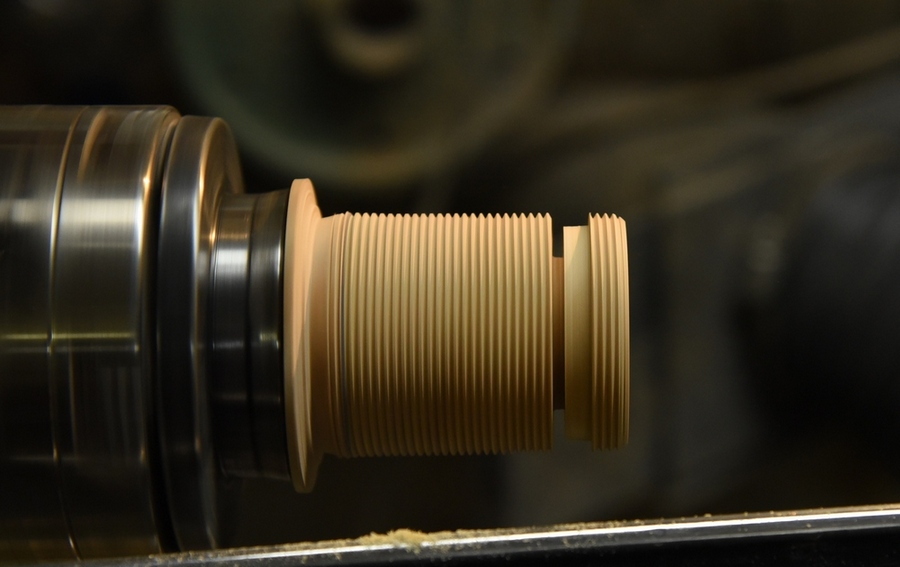
This is the male cylinder with the threads already cut. I used the pencil along the cylinder and sighted down to compare it to the bed of the lathe to make sure the sides were parallet.
Unlike doing the female collars, you can thread the entire outside at once, but, as I mentioned before, leave it slightly oversize and adjust each male insert to fit a specific female collar. (Hint - number the collars and inserts so you don't mix them up later.
|
 |
You see, in the previous photo, that the first female collar is threaded on to the cylinder to get a perfect fit before I part off the male insert.
This photo shows the small tenon left on the insert. The tenon will be used to glue the insert into a mortise on the body of the future box, and it also has to be square and true.
Also, save yourself a lot of time and drill a smaller hole in the middle of the cylinder before you thread it. It helps in parting it off later, and the male insert will be the future opening of the box anyway, so the hole helps with that, and makes handling this small part a lot easier.
|
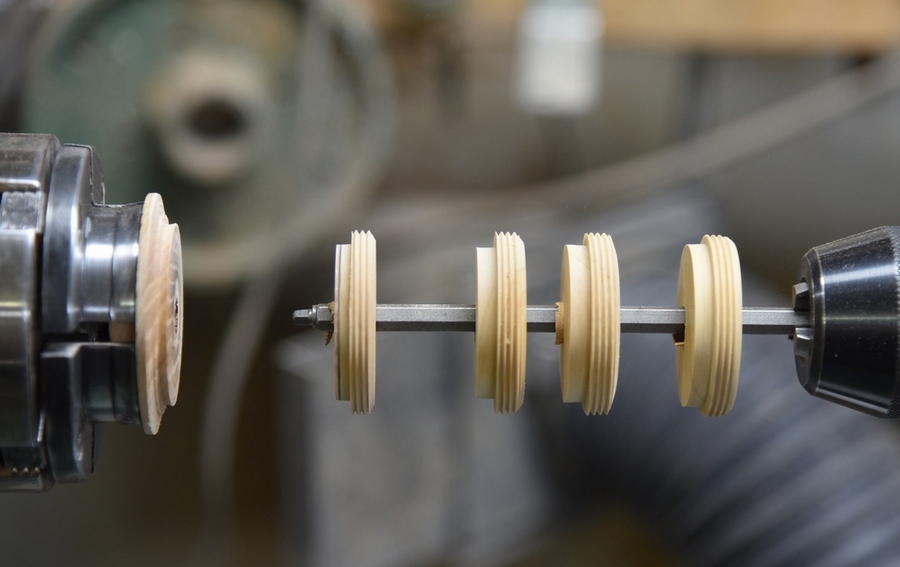 |
See, this is why a small hole in the center makes it easier to part off. This cylinder yielded four male inserts, same as the female collars. To do that, you need a longer piece of wood for the male inserts because you have to account for the wood needed for the tenon on each one.
I don't try for longer pieces to make larger batches. The reason is that the stock is only held by a tenon in a chuck and a longer blank starts to introduce vibrations that make it harder to thread.
|
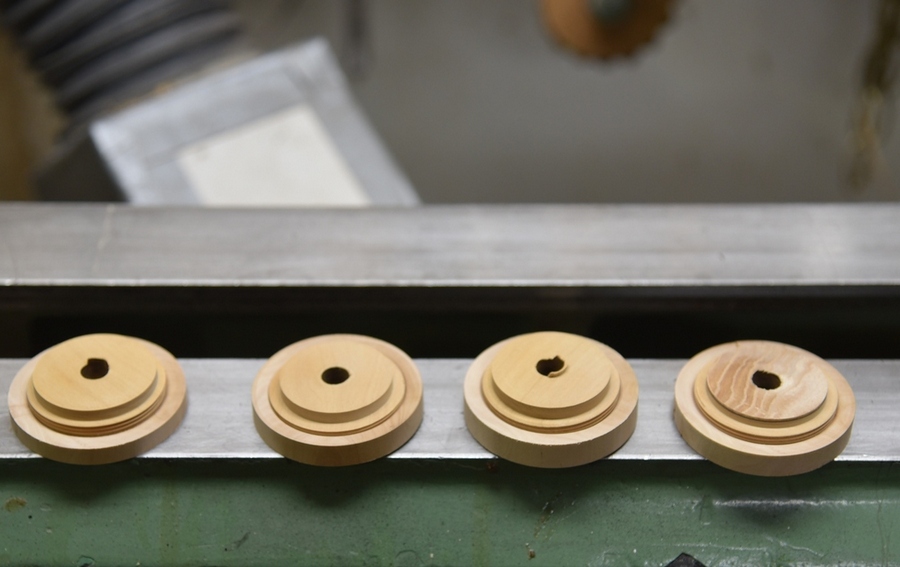 |
Here they are. Four sets of threaded boxwood inserts that I can glue into soft and fibrous wood boxes, or use on oak or other open grained woods that do not thread cleanly.
|